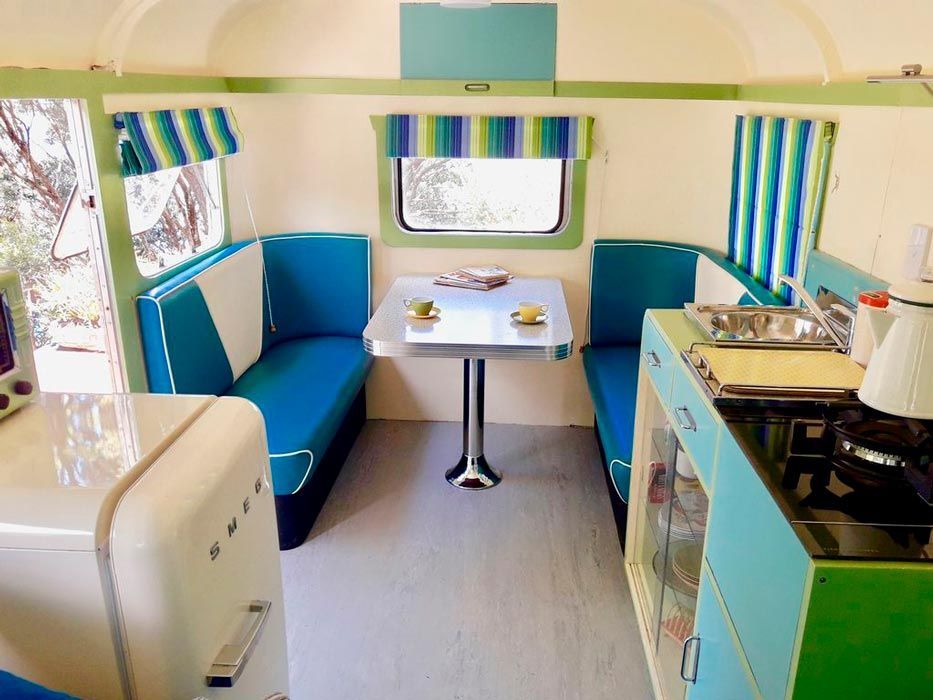
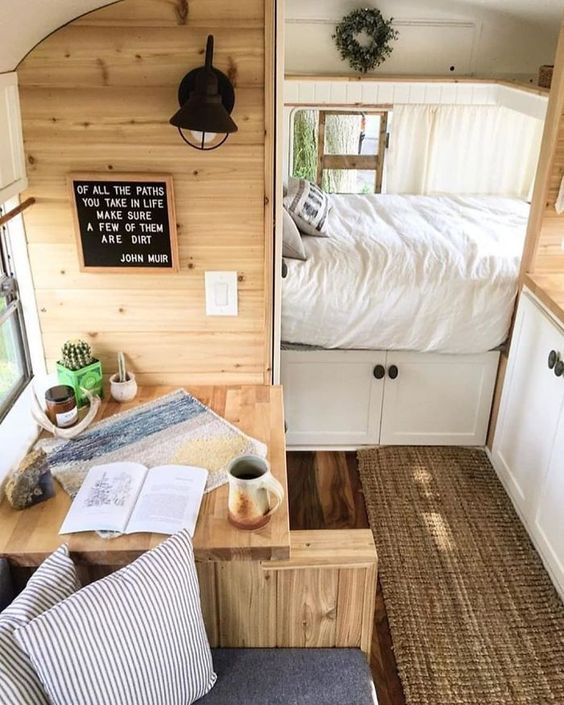
In this article, we’re going to talk about restoring a caravan, but also about renovating a caravan. In other words, fixing the damage and improving it, making it more modern and more attractive.
Please, don’t be scared at first sight. Any second-hand caravan can have surprises and seem like a complete disaster. But if you have a chassis in good condition, made of aluminum, the rest can be fixed. Here begins our DIY (Do it Yourself) tutorial on how to convert a “genuine vintage style” caravan into a home with time, patience, and good decoration.
Index
LOOK FOR BREAKDOWNS
Let’s start by making a checklist of common defects when restoring a second-hand (or fourth-hand) caravan:
- Doors and cabinets with cracks
- Walls with dampness and leaks
- Bathroom with rotten floor or walls
- Holes made from the outside for screwing or passing cables
- Cracked, wrinkled, or lifted floor
- Gas installation in poor condition, with burnt walls, without inspection…
- Missing television antenna
- Old electrical installation
EMPTY THE CARAVAN
The next step is to empty the interior of everything possible to work comfortably. Yes, there’s little space inside and you need to remove furniture from the kitchen, shelves from damp walls, bathroom furniture, mattresses, etc.
Be careful with the pipes for gas, water, drains, and other TV outlets or cables when removing furniture. As advice, don’t throw away the furniture until you finish the renovation, because sometimes you can’t find any of that size and it’s possible to restore.
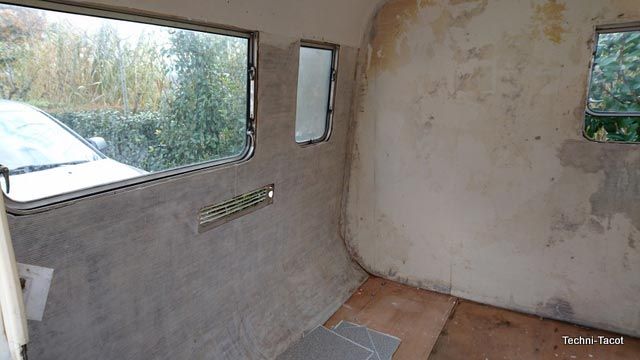
Regarding the walls, if they have dampness, you’ll need to lift the plastic layer of paint they have and see how the slats behind are. Typically, the caravan wall has an outer sheet, then wooden slats, sometimes insulation, and then the plastic paint coating. Uncover all the walls that are in bad condition and leave them exposed.
We continue with the floor and if it’s in very bad condition and we want to change it (let’s assume we do), we remove it without screwed-in furniture. We lift the vinyl and where we can’t, we cut with a utility knife.
TAKING MEASUREMENTS
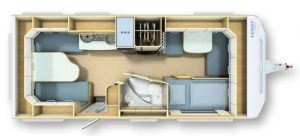
It is extremely important to take measurements of the caravan and make a small draft plan. Floor meters, wall measurements, height of the caravan, distance from the sink to the ceiling…
THE SHOPPING LIST FOR RESTORING A CARAVAN
Restoring a caravan can cost at least 1000 euros, depending on its condition. Renovating a caravan in good condition can be cheaper. But assuming it was in poor condition and following our explanation, here’s a list of basic things to buy:
- Silicone
- Polyurethane for walls
- Putty for the floor
- Paint for painting walls and sealer
- Rollers and brushes
- Flooring such as laminate or floating floor. Check that it doesn’t scratch.
- Polyethylene foam and tape to seal joints
- Material to line kitchen or bathroom walls (according to individual taste)
- Wooden slats to replace rotten ones
- MDF board to replace rotten floor or walls. If for walls, use 3mm thickness.
- LED lights, switches, socket boxes…
- Mirrors
- Solar panels
When buying, think about the style you want to give it: vintage, modern, rustic… Look for ideas on Pinterest, it’s full of bedroom, kitchen, living room, and terrace decoration for caravans. Search for the words glamping caravan or vintage caravan and you’ll see.
RESTORING THE WALLS
We start the restoration with the damp walls we had. We replace the slats, gluing them with T-Rex or silicone and fill the gaps with polyurethane.
When it dries, we trim the excess with a utility knife and sand to make it all more or less smooth.
If it’s not smooth, we recommend you put 3mm MDF board, screw it carefully without going through to the exterior, cover the screws, and paint it once the putty dries.
When painting, remember that the lighter the color, the more sense of spaciousness. Colors like white and beige are a great idea. You can also add mirrors which always help to give the impression that the space is larger as well.
As the walls are plastic, they’re not porous, remember to apply a coat of sealing paint before painting so that the paint adheres well and sets.
RENOVATING THE FLOOR
Yes, here we’re going to renovate the caravan because we’re going to improve the floor. With an inexpensive floor if you want, between 6 and 8 euros per square meter.
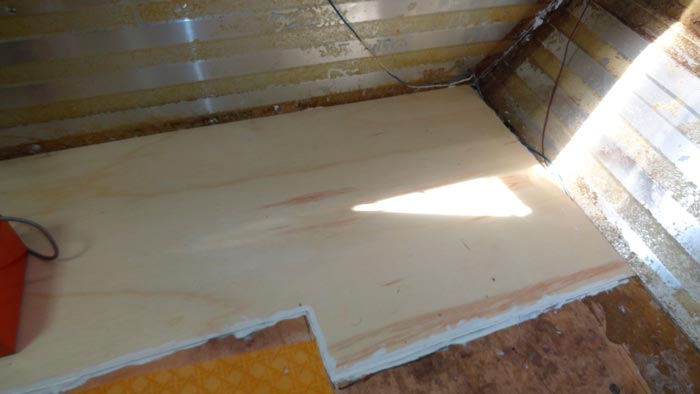
We had already removed the vinyl and seen parts that were rotten. We cut them out and replace them with marine plywood of sufficient thickness. We seal with floor putty, make it more or less smooth with a spatula, and start with our flooring.
Don’t get discouraged, we’re on the right track. If we’ve bought floating laminate, we cut strips of polyethylene foam, which will go under the laminate, and cover the floor. We seal the joints with adhesive tape. Then we place the flooring on top following the instructions.
There are also adhesive vinyl floors that don’t need foam underneath and are easy to install. Let yourself be advised by the specialist at the DIY store, who might give you some interesting details.
RENOVATING THE BATHROOM
It’s worth pausing to think here. If we only have a toilet and sink, we wouldn’t need as much insulation. If we have a shower, consider that water always leaks out. And we already know that water and wood are a bad combination.
Look for PVC materials to line the walls (adhesive vinyl flooring can work) and vinyl for the floor, without joints or cuts, that you can raise 2 or 3 centimeters behind the baseboard. If you’re looking for a toilet, here’s an article about chemical toilets.
KITCHEN AND GAS
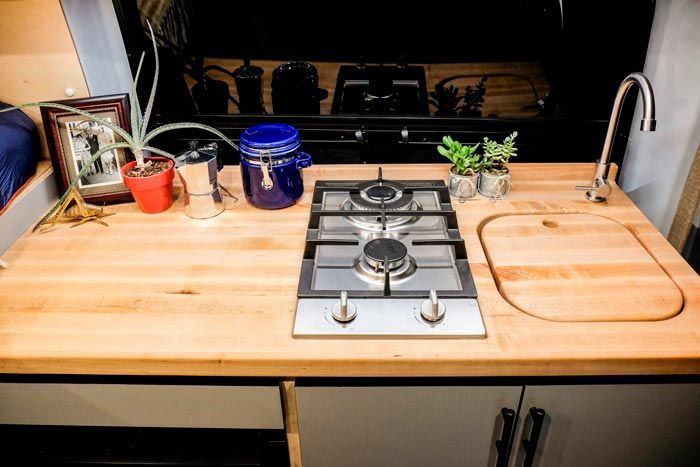
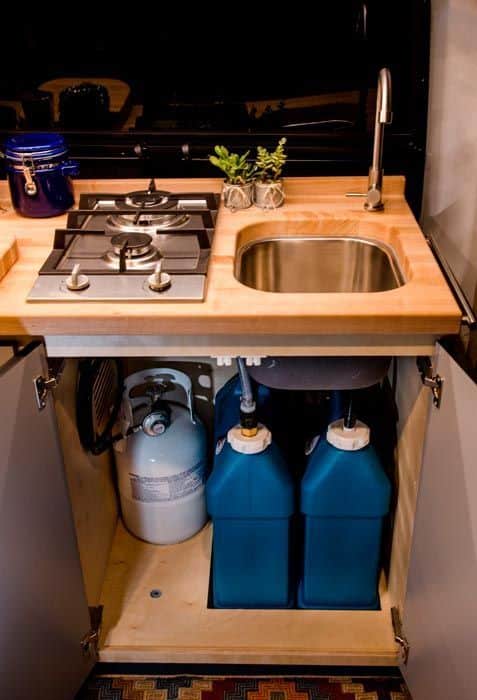
For very old caravans, it’s best to buy a sink-stove combo that’s installed in campers. These are pre-finished units that integrate perfectly and remain hidden. Clean, efficient, and they’ll fit in 95% of caravans. If they fit in a camper renovation, they have to fit in a caravan restoration or renovation.
As for the fridge, it needs to be compatible with the battery you can carry. That’s why it’s better to have portable coolers.
ELECTRICITY AND TV
In general, we recommend basic photovoltaic panels and a battery. There are thousands of systems, but to power some outlets for charging your phone, watching TV, or having the lights on, you don’t have to spend a lot of money. Ask a specialist to help you. At this point, unless you’re very handy, set aside your DIY tendencies and seek advice.
Obviously, no portable air conditioning or oven. Things that require a lot of power can only be connected when we plug into the campsite’s power point. Go to campsites that have at least 10A of power if you don’t want the electricity to trip constantly.
EXTERIOR DECORATION
Finally, let’s talk about painting the caravan exterior. Yes, folks, let’s not forget about the outside with all the renovation work we’ve done on the interior.
We sand the caravan with an eccentric sander because the caravan has a kind of textured wall. We tape and cover windows and any parts we don’t want to paint.
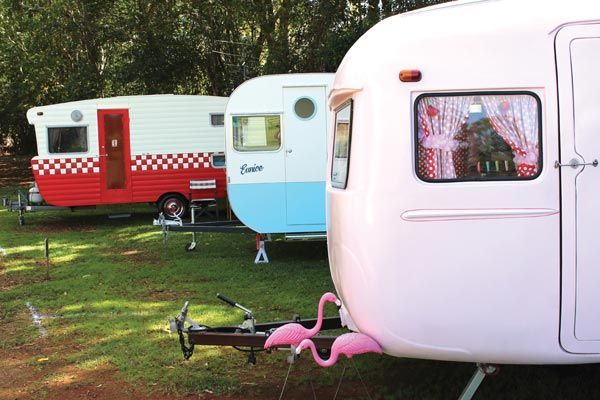
Now, a compressor and car paint. You can metallize it, combine colors, or apply a pattern. Search the Internet for images of vintage caravans and let yourself be guided. There are some great ideas.
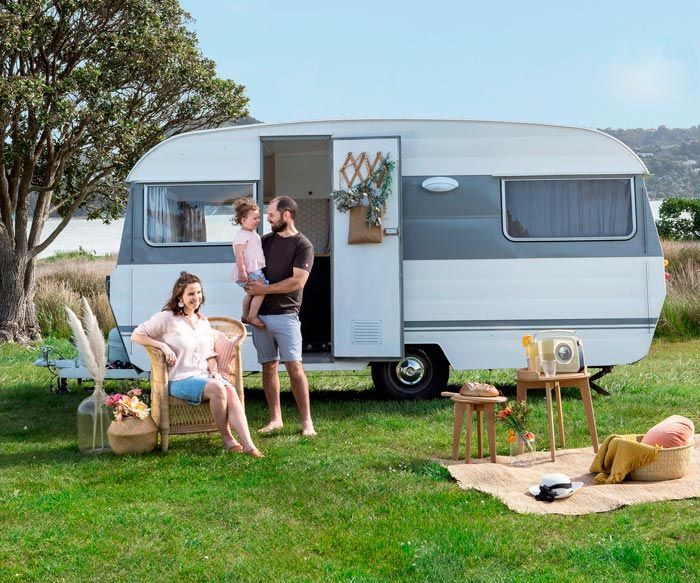
And all that’s left is to tell you to enjoy the wonderful world of camping, and if you have a moment, come and try our caravan pitches. If you’ve renovated a caravan, you deserve it!
